How can I upload my event announcement?
This is a step-by-step guide on how to post your event. If you're interested in marketing your Event online and increase attendance, read this guide and follow the steps described below.
Create Your Event Announcement
Navigate to your Portfolio.
Click on the button "Book A Date" to select a publication date.
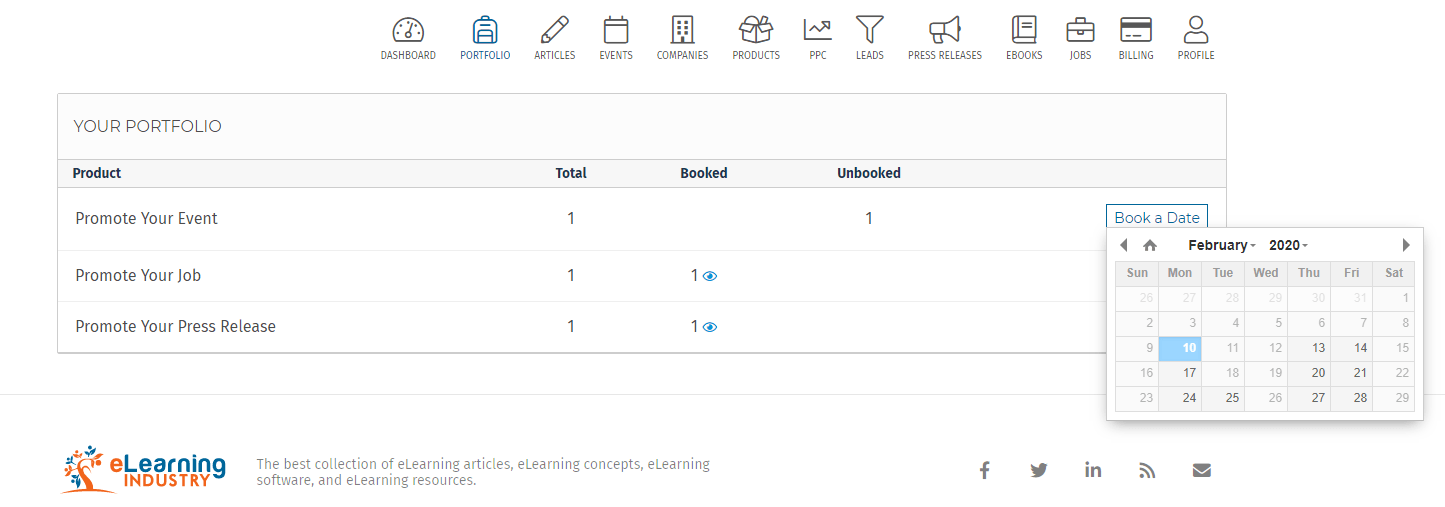
After you have booked the date of your selection, you will see a notification on the icon of the product you have purchased.
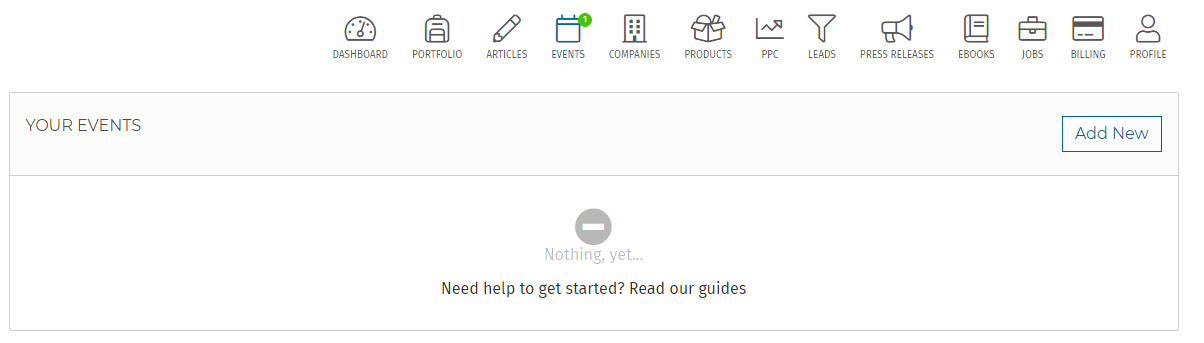
Click on the respective box and select "Add New" to begin the creation of your Event.
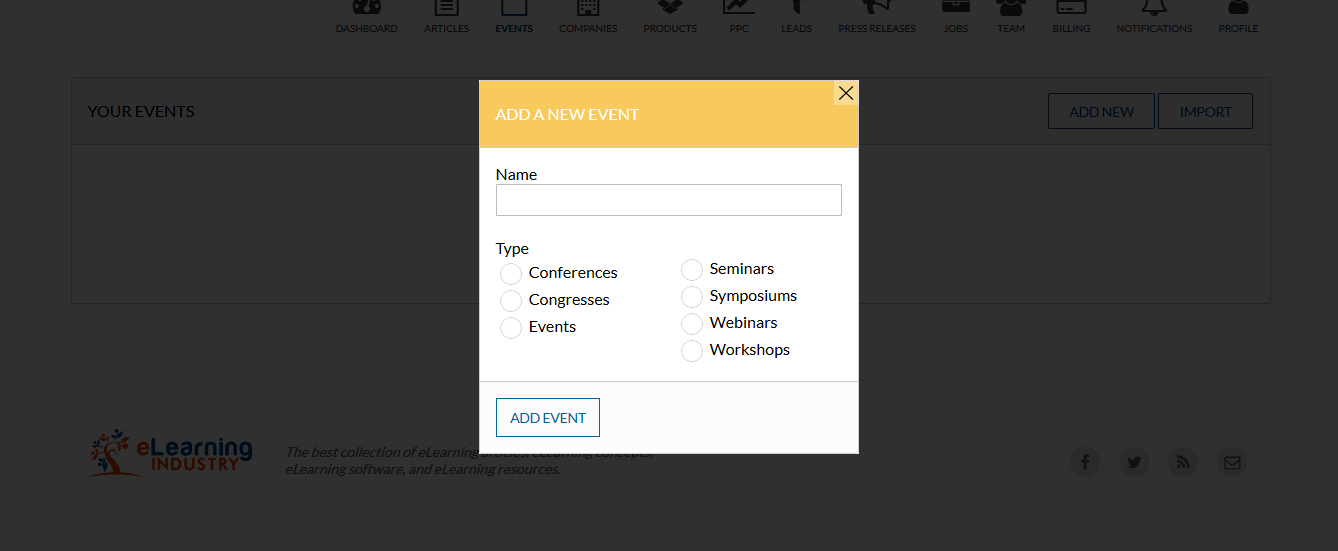
In the popup window, enter a name (1), the type of Event (2) and click on Add Event (3). Please note that the type cannot be changed afterward. Don't worry too much about the name, you can change it later on.
You will then be redirected to the Event editor.
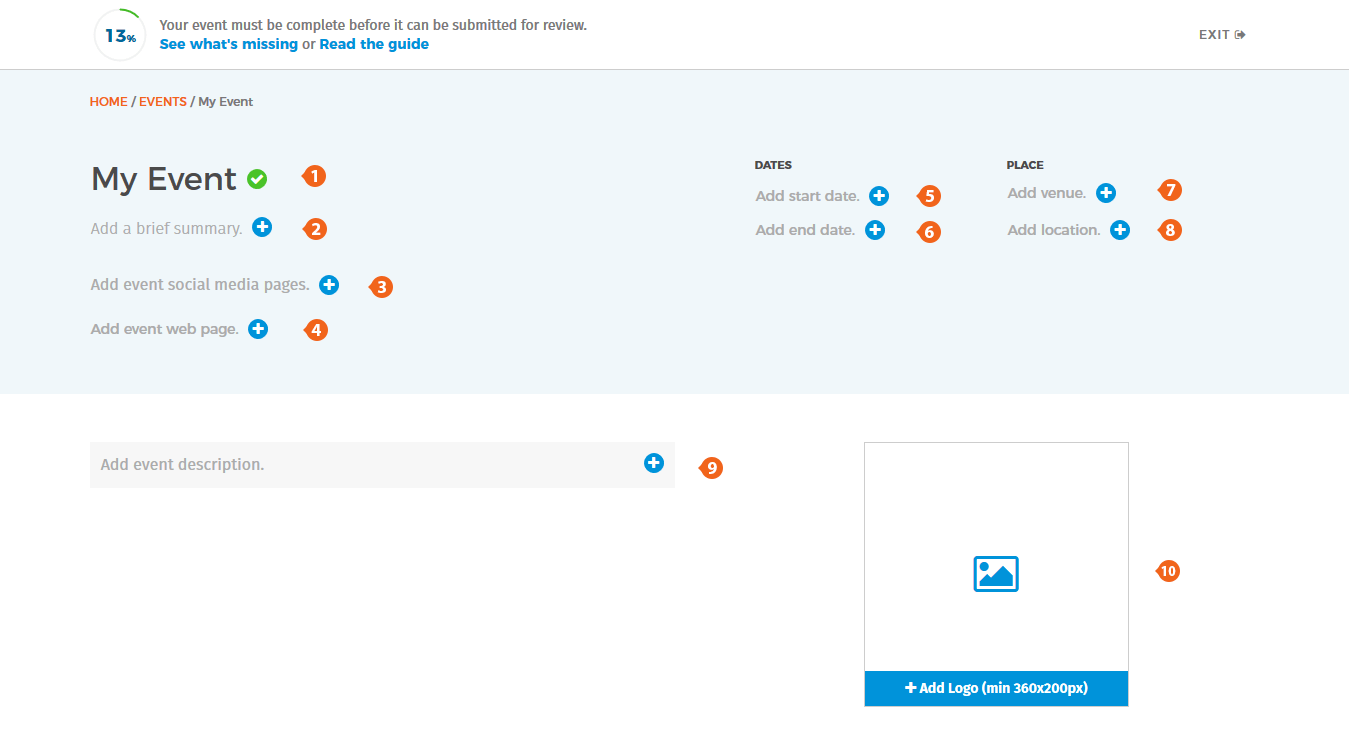
Now it’s time to create the Event. Although not required, the recommended order to fill out your Event is displayed below.
1. Name (75 char. max)
2. Summary (250 char. max)
3. Description (100 to 500 words long)
4. Event Logo (min 360x200px)
5. Venue (optional) and Location of your Event
6. Start and End Date
7. Web Page
8. Social Media Pages (optional)
To make changes, click on the pencil icon ![]() next to the section you want to modify. This will open the section's editor, which will differ depending on the section. For example, this is what the description section editor will look like:
next to the section you want to modify. This will open the section's editor, which will differ depending on the section. For example, this is what the description section editor will look like:
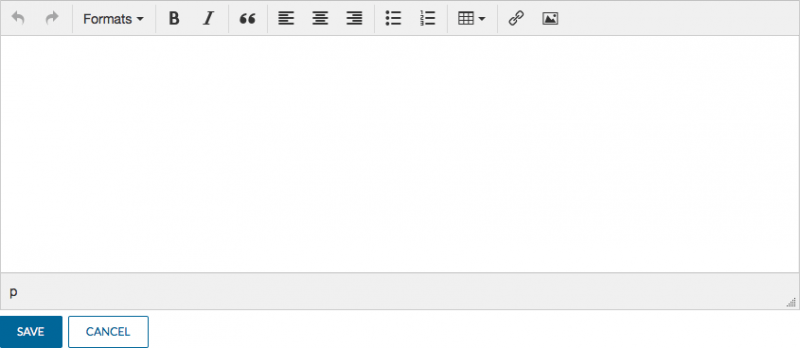
When you're done editing each field, click SAVE to save your changes or CANCEL to discard them.
The completion meter will be your guide to Event completion. You can click on "What is missing" at any time to see the sections that are still not complete.

When you have finished, and the Completion Progress area displays 100%, simply click on “Submit for Review”. Once approved, your Event will be posted.
